Blog Feed

Wheel barrow handle

So it’s yard clean up time again. In doing this I found that my wheel barrow handle was broken. My wheel barrow is about 20 years old and needs replacing, but it’s not in my budget right now. Besides I had just put a new wheel on it a couple years ago, so I decided to make a new handle for it. I hope it gives me an extra year or two.

I started by measuring the remaining handle to see if I had a piece of wood to fit. I found a used 2×3 in my shed from a broken arbor. I cut it to length, and then ripped it to width on my table saw.

I then matched up the handgrip and traced it on the new workpiece. Holding the piece at an angle, I trimmed the corners on the table saw. The guard has been removed for the photo.

Then, I used my belt sander to round off the handgrip.

I removed the broken handle from the barrow and marked the bolt holes on the new handle. Then I drilled new holes with a 3/8 inch bit to match the original holes.

Then I simply attached the new handle with the original bolts. Good as new!

Hassle free lawn edging

Plastic lawn edging: pretty easy to install and relatively inexpensive. However, it doesn’t usually stay nice. Time and the elements can wreak havoc on this common yard staple.

The edging often pokes up in places, becomes cracked, or even comes apart at the joints. I have a better alternative. Bricks. Even easier to install, and they stay put. But bricks are expensive! Um, not necessarily. Try free. Yes FREE!! My favorite word. Keep your eye on sites like Craigslist, Facebook Marketplace, and Letgo. People will often post free bricks when they are replacing a chimney or something like that. They don’t have to pay a disposal fee, and the bricks don’t end up in a landfill. You will have to pick them up yourself, and chip away some mortar (some of which comes off Amazingly easily!) Whenever I come across free bricks, and they look good in the picture, I pick them up! They have infinite uses! One of my favorites is lawn edging.

They look better than the plastic, and you can drive the mower right over them, eliminating weedwacking! Just dig a shallow trench, and lay them in!

If you have any extras, keep the in a pile out of the way for your next project! Have fun!

Easy and inexpensive twice baked potatoes

I love a meal that is delicious and looks fancy, but is also easy and cheap. Potatoes are inexpensive and versatile, and they fill you up. This recipe can serve as the main dish, as was the case for my wife’s birthday recently. She said they were delicious! Also, there’s enough to feed a crowd, or have plenty of leftovers 🙂. Here it is:

INGREDIENTS:

8 potatoes

2 Tbsp canola oil

2 sticks butter

1 cup sour cream

1 cup bacon bits (optional)

1 cup shredded cheese of choice, plus more for sprinkling

1 cup milk

2 tsp seasoned salt

DIRECTIONS:

Preheat oven to 400 degrees

Put potatoes on baking sheet. Rub them with the oil and bake for one hour. Make sure they’re cooked through.

Cut butter into pats and put into mixing bowl, along with sour cream and bacon bits.

Take potatoes out of oven and lower temp to 350.

Slice potatoes in half lengthwise. Carefully scrape out insides into the bowl. Lay hollowed out potatoes on baking sheet.

Add the rest of the ingredients to the bowl and mix with hand mixer until creamy. Fill the shells with the filling so that they are heaping, and sprinkle with some shredded cheese.

Back in the oven for 15 to 20 minutes.

Enjoy!

Recycled deck

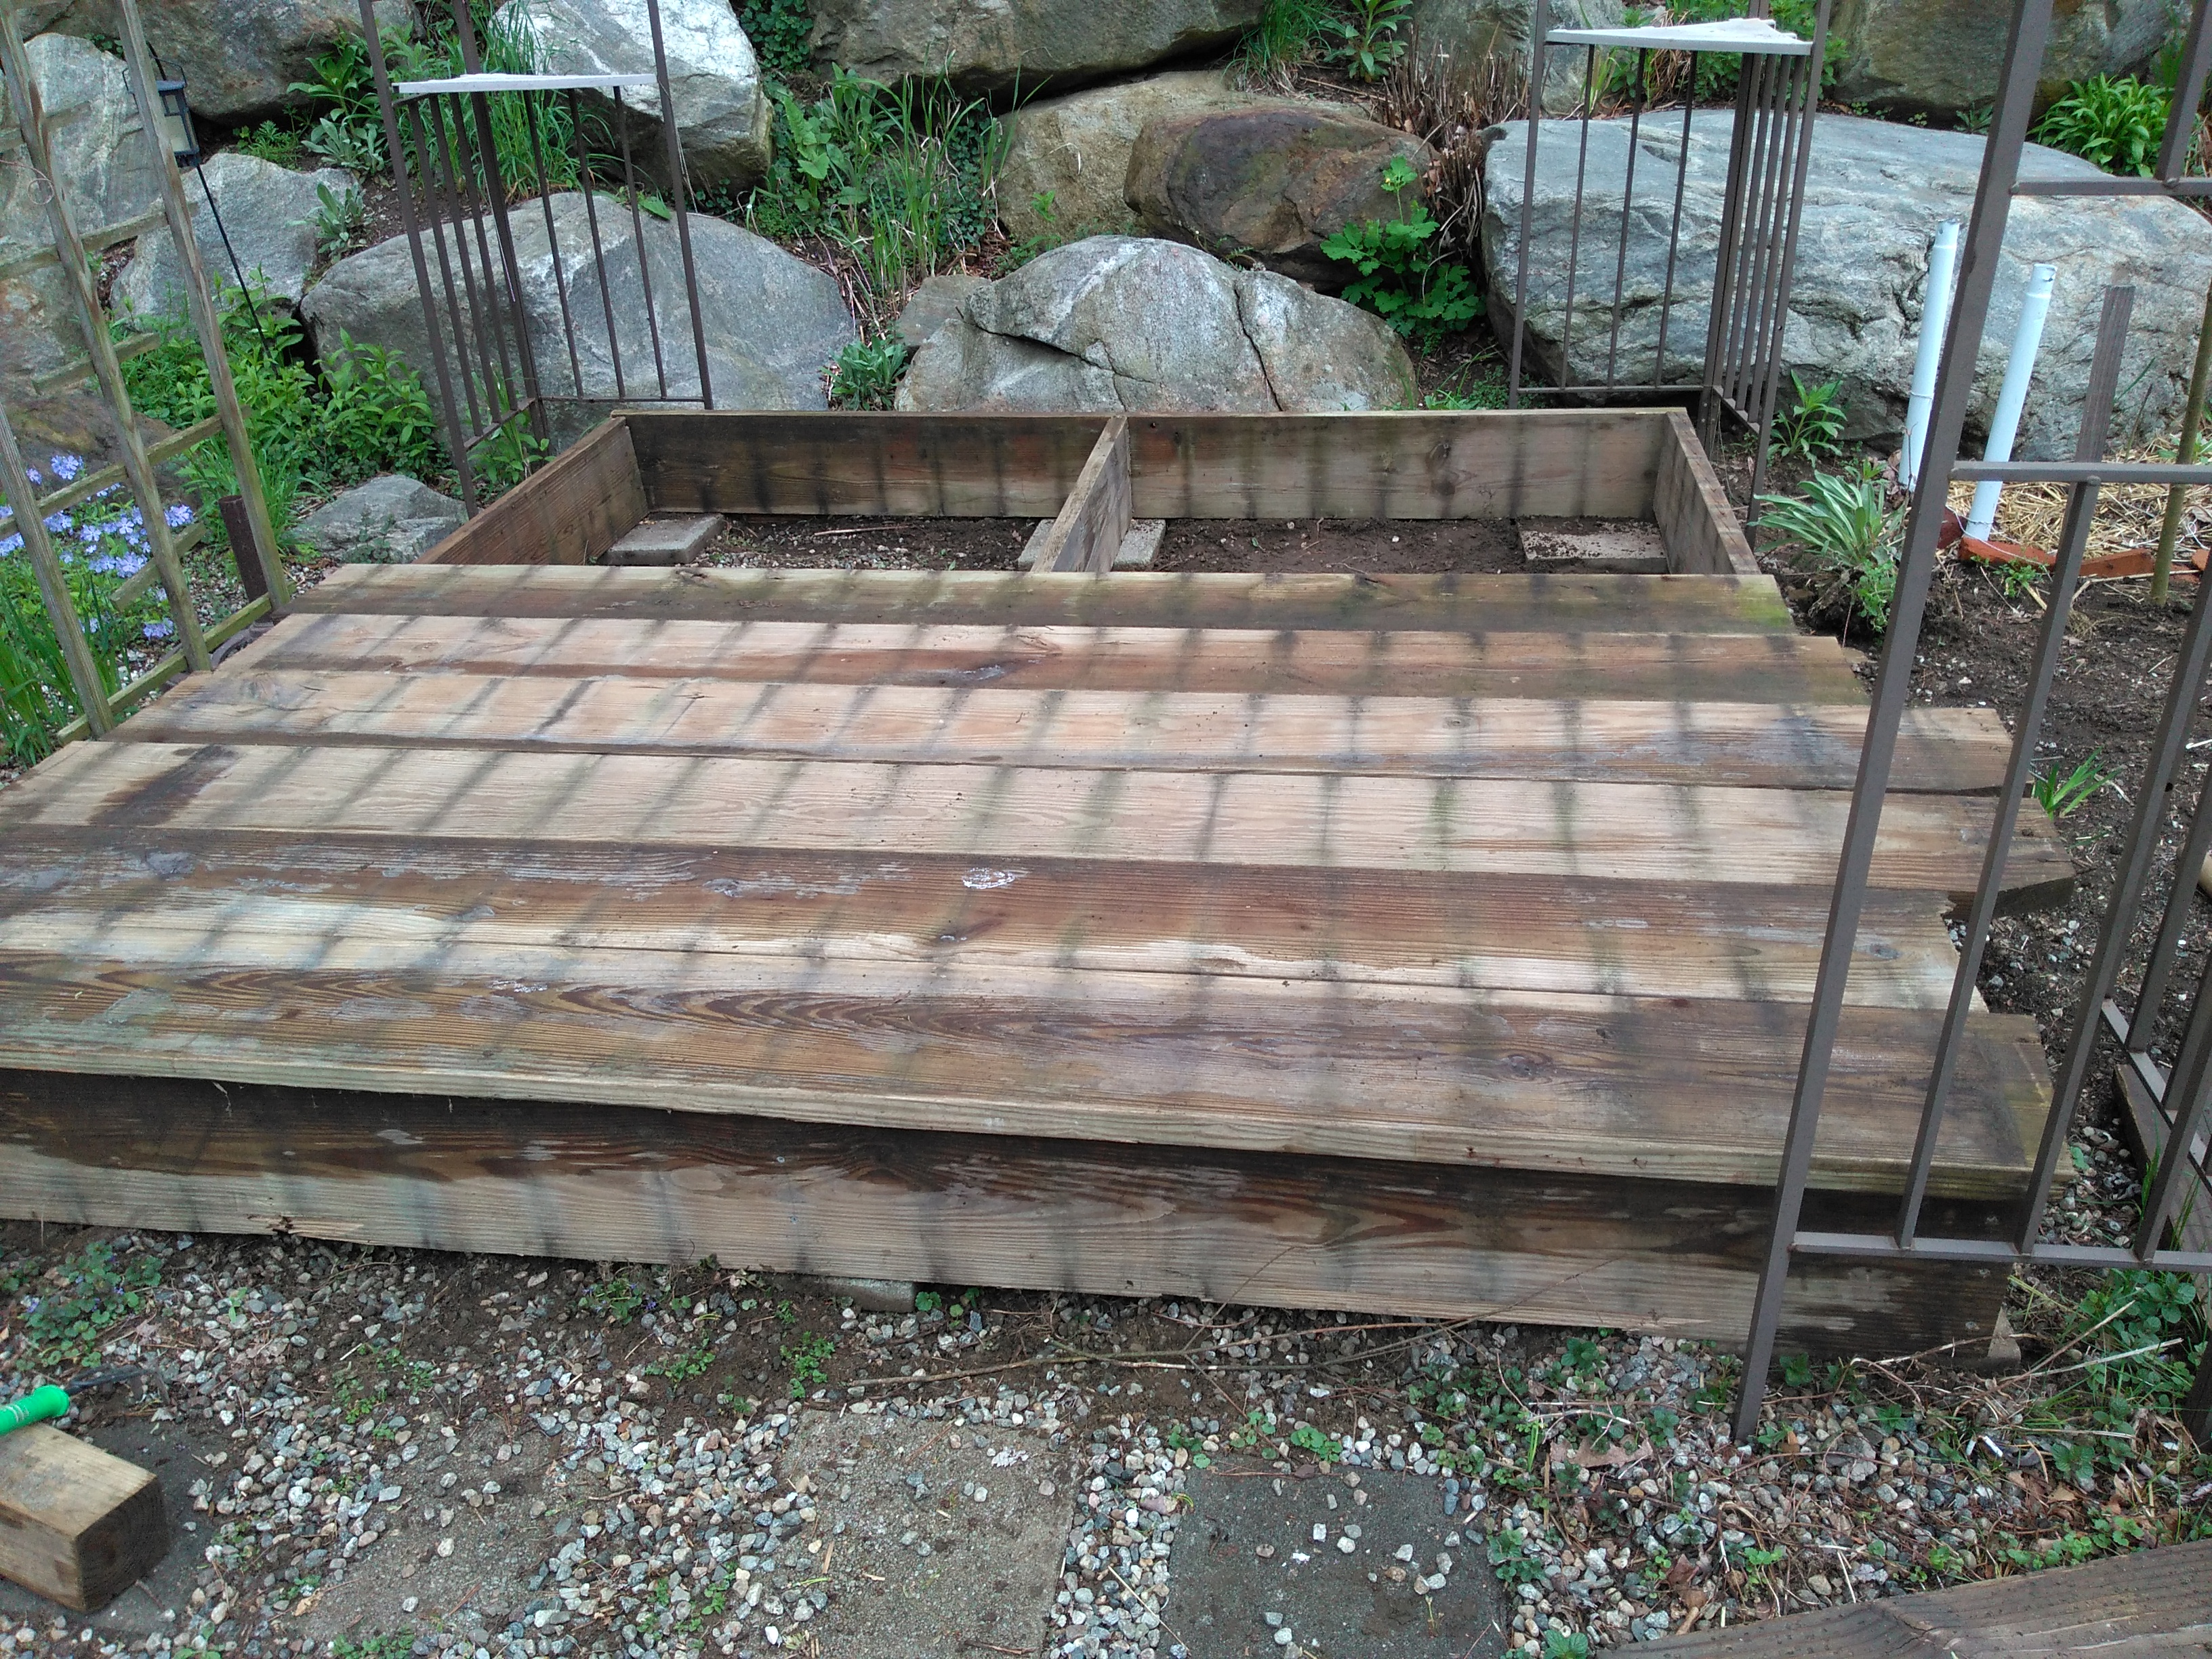
I am a scavenger. Co-workers, neighbors, family and friends all know that I’m interested in building materials. Recently my neighbors were tearing down their old deck to build a brand new one. This was a large raised deck, and they had rented a dumpster for it. He asked me if I wanted this pile of 2x10s, which were the only salvageable pieces. Um, YES! So my son helped me cart them across the street. Now, these were no pretty planks. They were full of nails and screws, water and age stains.

So I tried pulling the nails. NOPE. After all these years, those nails were Stuck in that pressure treated lumber. So then I used bolt cutters to cut the nails off, then hammer the stubs in.

I still wasn’t sure what I was going to do with the lumber, until my wife suggested a deck under our gazebo. We have this old gazebo frame with a wisteria vine growing on it. The canopy had weathered and torn years ago. Underneath is just pea stone. It has been a rather unwelcoming place. So I measured the planks, most of which were just over 8 feet, and the space. It would just fit! I laid out the planks to make sure there were enough. Perfect!

I kept it very simple. Because they were 2×10, they didn’t need much support. I made a simple square with one cross support. Then I laid out the decking overhanging on both sides. I used 2 1/2 inch decking screws for the frame, and some 16 penny (3 inch) nails for the decking. ( I ran out of screws). Then I snapped a chalk line along each edge to trim off the overhanging boards. Scrubbing the deck was not enough to remove the staining. So, wearing a respirator, I used my orbital sander to clean it and remove any rough edges and slivers. To top it off, the next week at Aldi’s, the replacement canopy for that style of gazebo was on sale for$20! Voila!

Patching the driveway

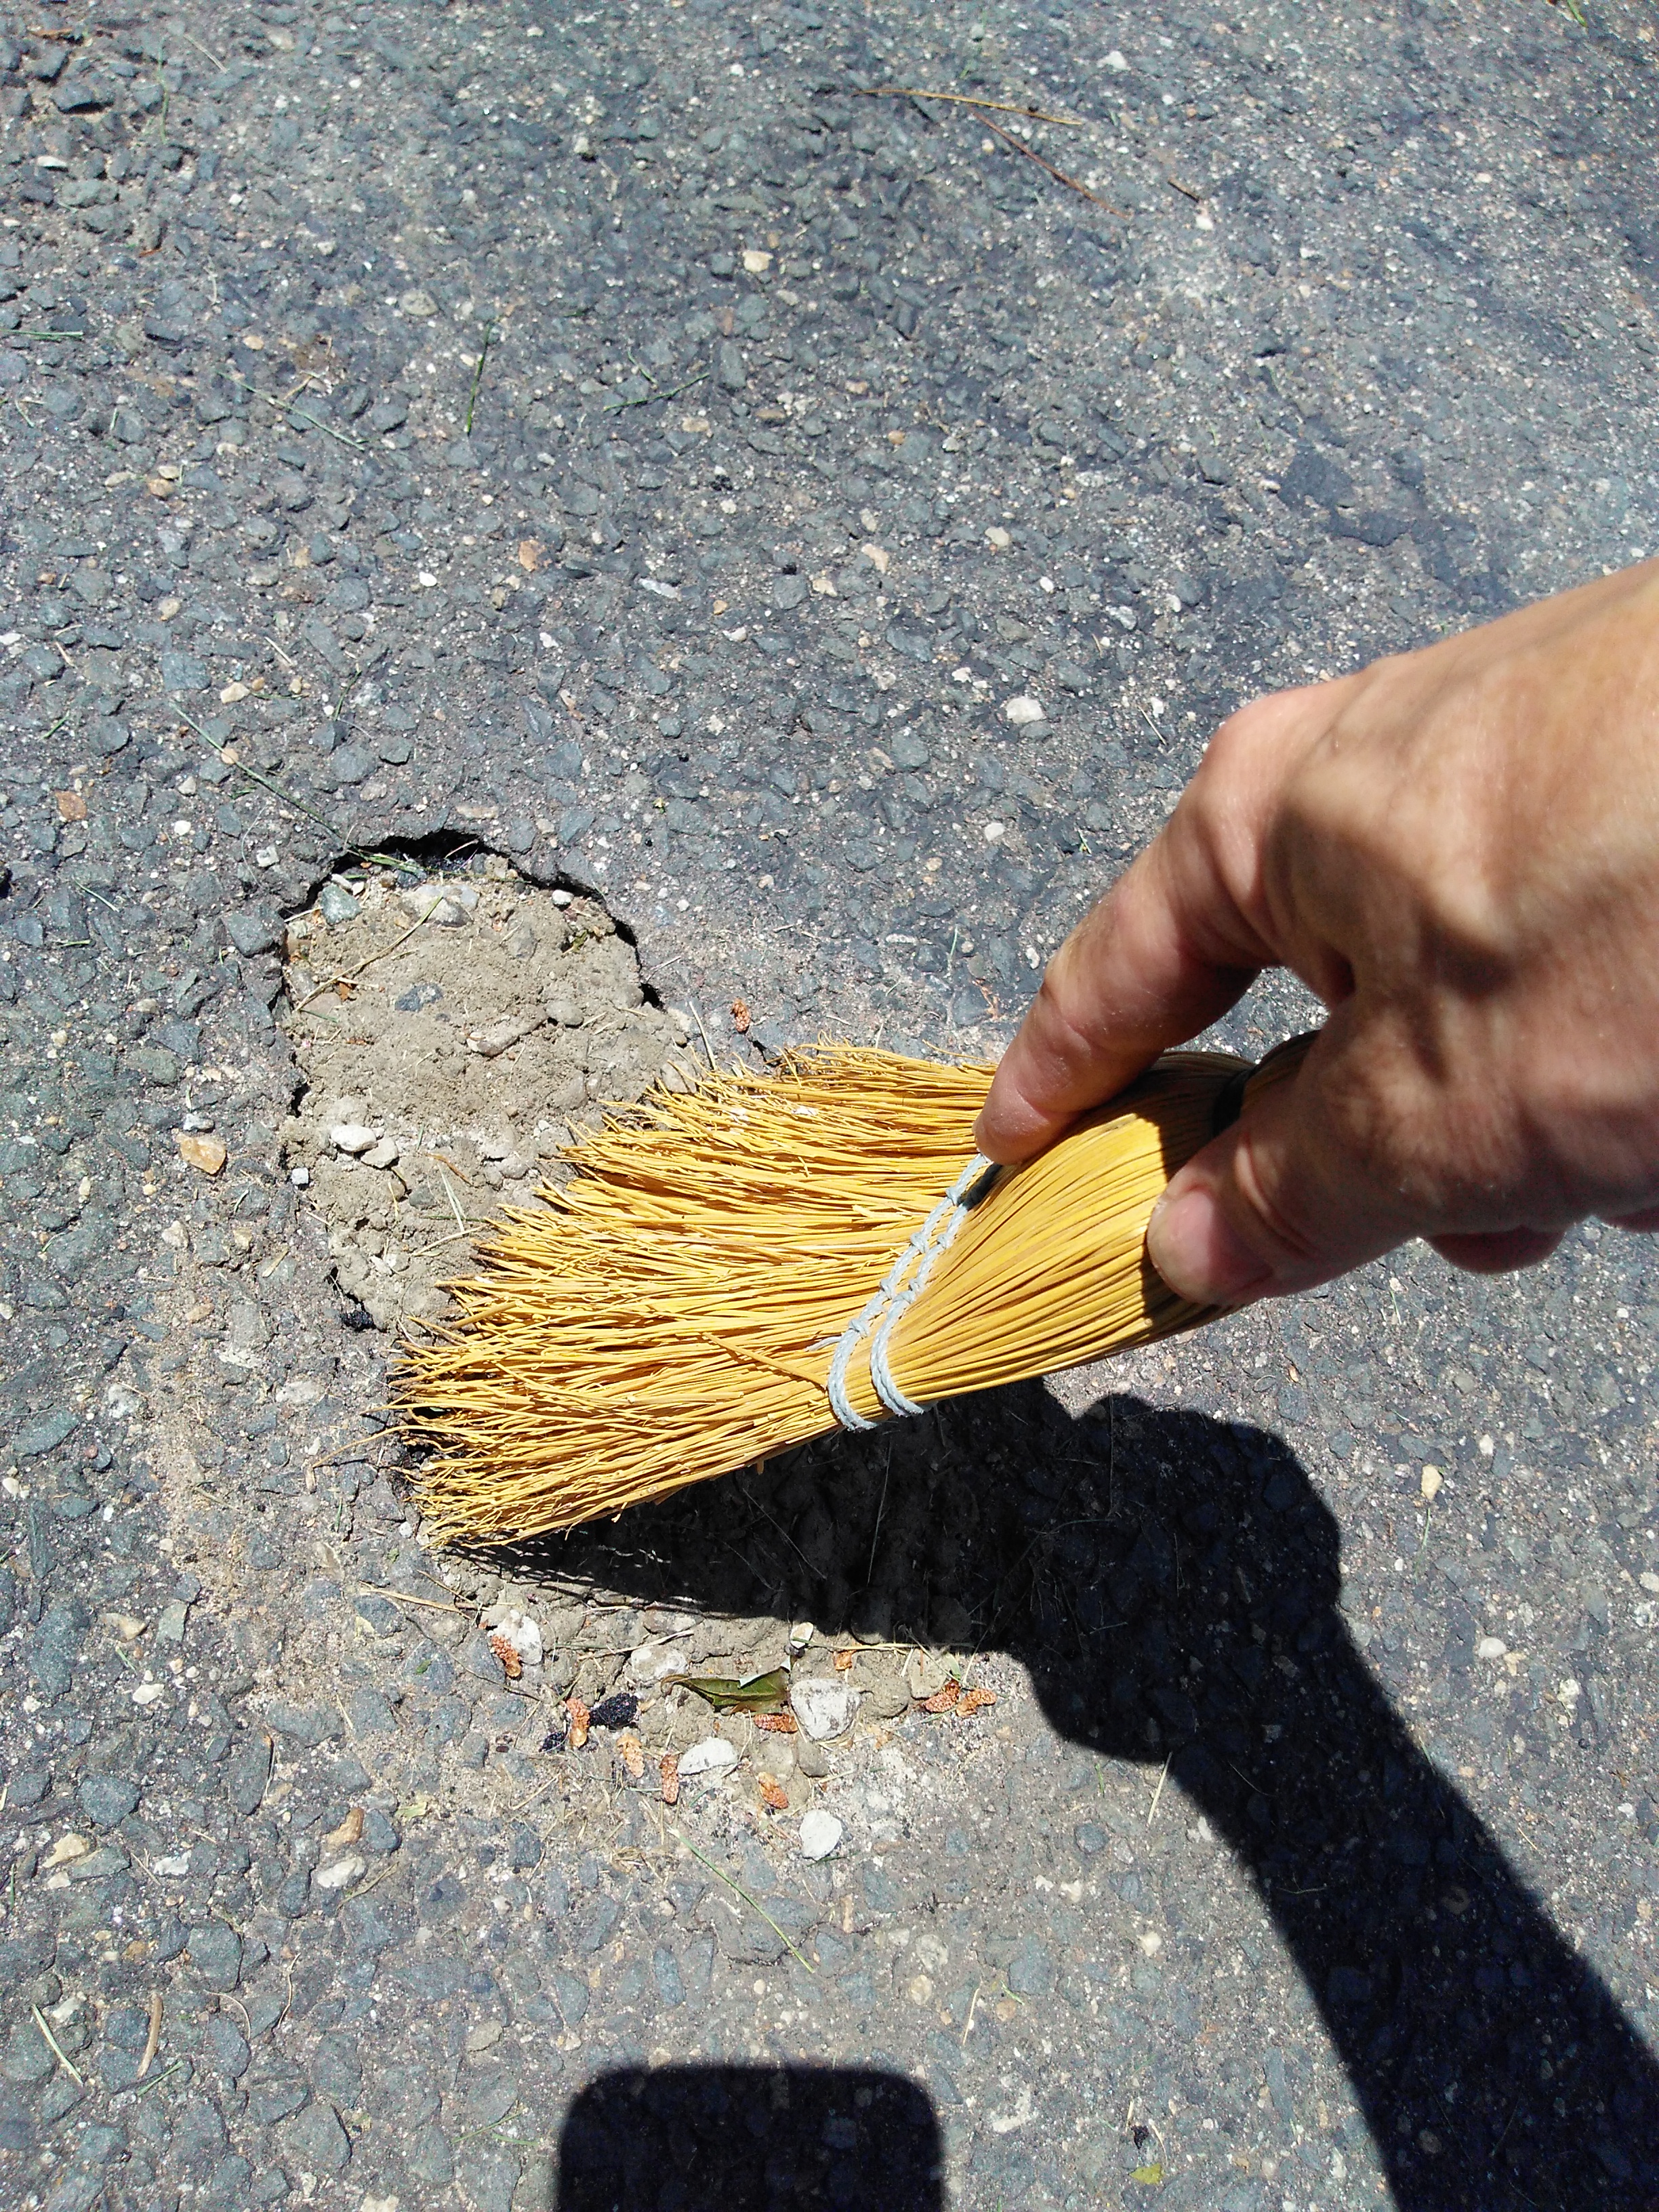
So a small sinkhole appeared in the driveway recently. Kind of freaked me out. It was only about 10 inches long, so I poked around through the asphalt and found it wasn’t a huge washout like I had feared. It was only four inches deep. To deep to use only driveway patch, so I needed a filler. I had a partial bag of concrete in the shed, so I mixed some up in a bucket and filled the hole, leaving about a half inch deep impression on top.

After letting it dry, I proceeded with the driveway patch. It was around$11 at Home Depot. I used a whisk broom to clead out any loose debris. I also had a crack in the driveway, along with another small area that needed patching, so I cleaned them too.

This stuff is pretty simple to use. I just scoop it on with a garden trowel and spread it. I dip the trowel occasionally in a bucket of water. Make sure you have at least 24 hours of dry weather. It has a brown color when wet, but don’t worry, it dries close to an asphalt color.

That’s it! Let it dry. If you have pets or kids, put a barrier to avoid any unfortunate footprints ( realized this after a close call with my dog).